REVIEW · ARNHEM
6 Hour Battle of Arnhem Tour by Car with Private Guide
Book on Viator →Bookable on Viator
Arnhem feels different after this 6-hour route. What I liked most is how guide David uses original battle maps to explain how the fighting unfolded, and how the stops pair well with real, story-driven details from British army survivors. You’ll also get the comfort of private transportation, so you’re not hunting buses between sites. One thing to consider: lunch costs extra, and the pacing is focused—so come ready for a day that moves.
This tour is built around key, specific places around Arnhem and Oosterbeek—places where you can see what happened, then hear why it mattered. I also appreciate that the main sights have free admission tickets, which makes the “what you pay for” side feel simple. The only drawback is the tight timing at each stop, so if you want extra wandering time, plan to return on your own later.
You’ll meet at Arnhem Central Station and start at 10:00 am. From there, you’ll be driven between multiple sites, with short on-foot visits at each location—exactly the kind of structure that helps a complicated battle make sense without dragging on all day.
In This Review
- Key Highlights You’ll Actually Notice
- A 6-Hour Private Route That Makes the Battle Make Sense
- Getting Started: Arnhem Central Station, Pickup Options, and Mobile Tickets
- Stop 1: Wolfheze Dropping Zones and Where the Battle Began
- Stop 2: Airborne Cemetery in Oosterbeek (Paying Respects With Context)
- Stop 3: Oude Kerk, Bullet Holes, and Seeing Fighting in a Real Wall
- Stop 4: Arnhem Stops Along the Way—Zwarteweg and St. Elisabeth’s Hospital
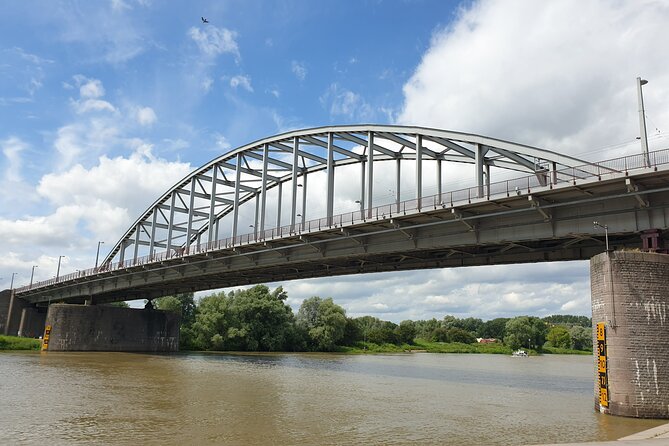
- Stop 5: John Frost Bridge (John Frostbrug), the “Bridge Too Far” Moment
- Stop 6: Lunch in Oosterbeek—Plan for Extra Cost
- Price and Logistics: Does $971 per Group Feel Worth It?
- Who This Tour Fits Best (and Who Might Prefer Something Else)
- Should You Book This Private Battle of Arnhem Tour?
- FAQ
- Where does the tour start and end?
- What time does the tour start?
- How long is the tour?
- Is pickup available?
- Is this tour private, and who participates?
- What language is the tour in, and do I get tickets on my phone?
- What’s included in the price?
- Is lunch included?
- Do I need to pay admission at the stops?
- What is the cancellation policy?
Key Highlights You’ll Actually Notice
- Original battle maps with the story as it moves (not just a lecture)
- David’s survivor-based storytelling that adds texture to each location
- Free-admission stops at every main battlefield site on the route
- A private car setup with time saved between far-flung points
- A focused end at John Frost Bridge—the moment many people remember, explained clearly
A 6-Hour Private Route That Makes the Battle Make Sense
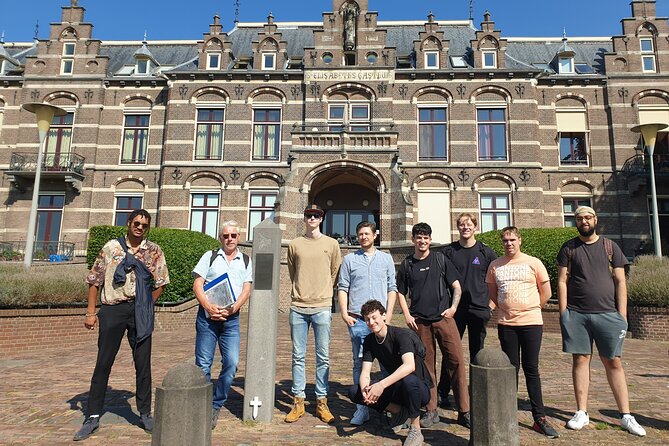
This is one of those tours where the format helps the content. A WWII battle can be hard to picture when you’re reading names on a wall. Here, you’re in a car for the long stretches and on foot for the short, meaningful stops, which is perfect for a single half-day.
The schedule also respects your attention span. You get about 30–40 minutes at key sites, plus time for passing other locations your guide points out along the way. Travel time is included in the total 6 hours (approx.), so you’re not guessing whether the day will run long.
And because it’s private, you control the vibe more than on a group bus. If you’re the type who wants to ask one extra question at Oude Kerk or linger for a moment at the memorial, you can. If you prefer a brisk, story-forward pace, you can keep things moving.
You can also read our reviews of more tours and experiences in Arnhem.

Getting Started: Arnhem Central Station, Pickup Options, and Mobile Tickets
You’ll begin at Arnhem Central Station (Stationsplein 166, 6811 KL Arnhem, Netherlands) and the tour ends back at the meeting point. The start time is 10:00 am, and the tour is offered in English.
Pickup is part of the deal, but the exact spot gets worked out with you before the booking is finalized. You can be picked up near Arnhem or Oosterbeek, plus at or near Arnhem Central railway station, Oosterbeek railway station, or Ede railway station. That flexibility matters because Arnhem isn’t huge, but the sites are spread across the area—and getting the right pickup point helps you avoid wasted transit time.
You’ll also receive a mobile ticket, which is handy for entry when you want to keep your day light and paper-free.
One more practical note: the tour is close to public transportation, and service animals are allowed. “Most travelers can participate,” which is helpful to know if you’re deciding whether the walking time will feel manageable.
Stop 1: Wolfheze Dropping Zones and Where the Battle Began
The day starts at Wolfheze, at the Droppingzones where the Battle of Arnhem kicked off. You’ll have around 20 minutes here, and the stop includes a free admission ticket.
What makes Wolfheze valuable is that it gives you a baseline. Before you look at cemeteries, bridges, and buildings, you need to know what kind of operation this was and how the fight began. Dropping zones are one of the clearest places to understand the airborne side of the battle, because the landscape and the logic of movement are tied to the area itself.
Even in a short visit, you’ll get the sense that this wasn’t just fighting in one town center. It was an operation that started at a distance, then unfolded in stages as people tried to connect, hold ground, and survive long enough for relief that never quite arrived on time.
If you’re sensitive to emotion, this is a good place to mentally prepare. It’s early in the day, so you won’t be worn down yet.
Stop 2: Airborne Cemetery in Oosterbeek (Paying Respects With Context)
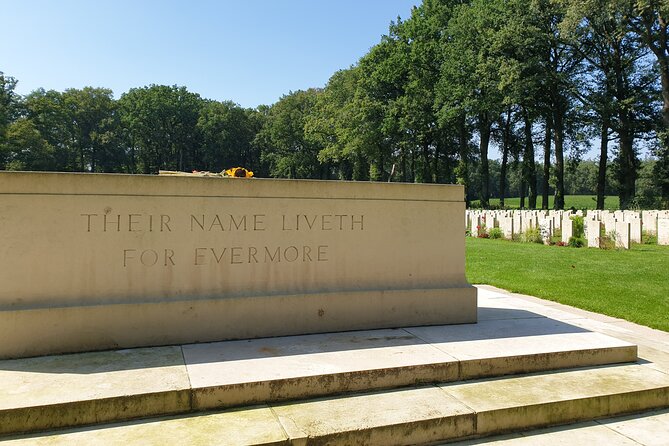
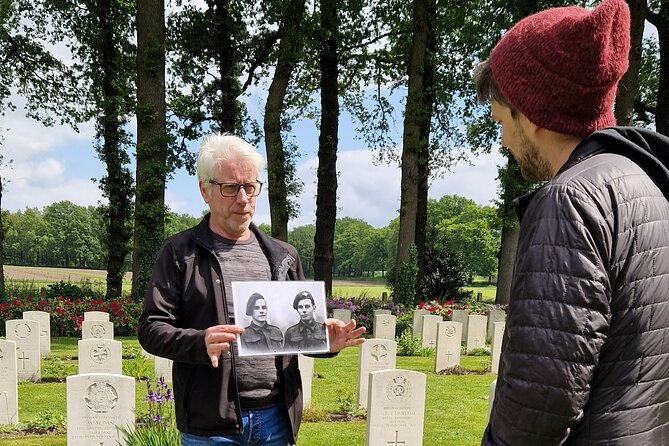
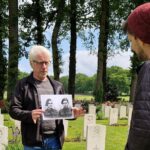
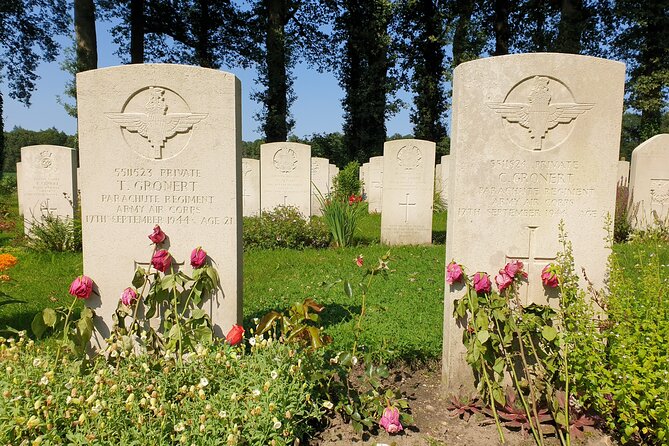
Next up is the Airborne Cemetery in Oosterbeek, with about 30 minutes on site. Admission is free, and the guide shares stories about the men laid to rest there.
A cemetery stop can easily turn into a quick photo stop. This one works better because it’s tied to the broader narrative your guide is building. When someone explains who these soldiers were and what their final days looked like, the memorial feels less like a generic monument and more like a real outcome of the battle’s timeline.
This is one of the places where I think a private guide adds real value. You’re not rushed by a group or pushed along by a clock. You can stand, listen, and take it in. You’ll also feel more connected to later stops—like Oude Kerk and the bridge—because you already understand the stakes.
Practical tip: bring a moment of quiet mindset. Even if you’re a history fan, this stop benefits from slowing down.
Stop 3: Oude Kerk, Bullet Holes, and Seeing Fighting in a Real Wall
Then you move to the Oude Kerk in Oosterbeek. You’ll get about 30 minutes here, and it’s also free to enter.
This stop is one of the most visual parts of the entire route. Your guide will talk about a lot of fighting around the Old Church, and you’ll walk around and see many bullet holes for yourself. That’s the kind of detail that turns WWII from a textbook into physical evidence.
A big bonus: the church is a place where you can look carefully from multiple angles. Even if your brain wants to “collect facts fast,” the wall details encourage you to slow down long enough to absorb what happened.
Possible drawback: because it’s a church setting with exposed damage, it can feel heavy. If you prefer lighter history during a vacation day, you may find this emotional stop tougher than the bridge.
Stop 4: Arnhem Stops Along the Way—Zwarteweg and St. Elisabeth’s Hospital
After Oosterbeek, the route shifts toward Arnhem, with strategic stops that help you picture how people lived and fought day-to-day.
At this point, the guide plans stops at:
- Zwarteweg, including the Urquhart hideout
- St. Elisabeth’s Hospital, a medical facility during the Battle of Arnhem
This segment is scheduled for about 30 minutes total at Arnhem, with the guide making the stops and explaining what took place at each place.
Why I like these two stops together: they cover two sides of survival. The Urquhart hideout connects to concealment and movement—where people tried to stay hidden or make plans. The hospital connects to the immediate aftermath and cost of the fighting, and it’s a reminder that this battle wasn’t just tactical. It was bodies, triage, and urgent care under terrible conditions.
You’ll also pass by other notable sites along the route that your guide points out, which helps you build a mental map of where events overlapped.
Stop 5: John Frost Bridge (John Frostbrug), the “Bridge Too Far” Moment
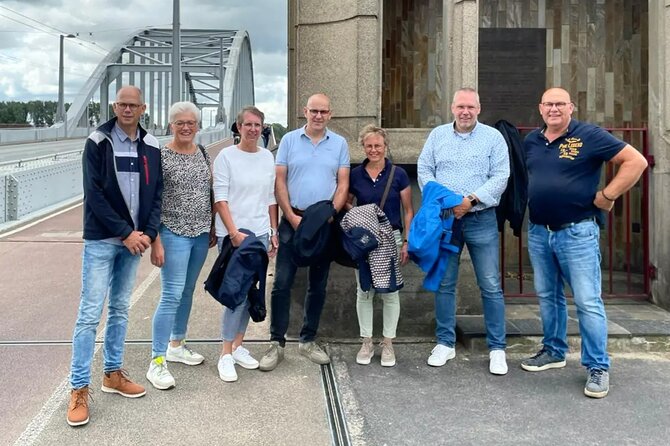
The last major stop is the John Frost Bridge (John Frostbrug), with about 40 minutes allocated. Again, admission is free.
This is the stop many people associate with Arnhem, and the value here is not just being at the bridge—it’s understanding why it became so symbolic and how the fight reached that point. Your guide will explain the story of what happened there, tying it back to earlier sites so the day doesn’t feel like a chain of unrelated locations.
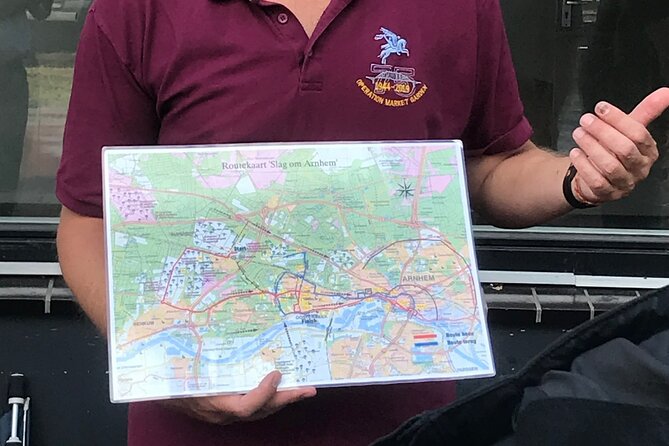
What I found especially useful is that the best parts of the day hinge on the guide’s storytelling style: David’s use of original maps helps you track the sequence of events and how decisions played out on the ground. When you reach the bridge, you’re not starting fresh—you’re finishing a timeline you’ve been building for hours.
If you like WWII history but get lost in too many names and dates, this is a high-value endpoint. The bridge gives you something concrete to anchor your understanding.
Stop 6: Lunch in Oosterbeek—Plan for Extra Cost
Lunch is scheduled as a stop in Oosterbeek, with about 30 minutes. The key detail: lunch is not included.
This is the one part of the tour where you should be a bit strategic. You’ll be in a historically significant area, and it can be tempting to grab food and keep walking. But the tour structure expects you to pause, eat, and reset.
Because lunch isn’t included, budget for it up front. If you want to keep your day smooth, pick a nearby option quickly when you arrive at the break point. Then you can return to the group with minimal delay.
If you’re traveling in peak hours, consider simple food choices that won’t slow you down—short meals work best here.
Price and Logistics: Does $971 per Group Feel Worth It?
The price is $971.00 per group (up to 3) for a tour of about 6 hours with private transportation and an English-speaking guide.
On paper, that can look steep if you’re comparing it to a standard group museum visit. But here’s the practical value equation: you’re paying for a guide, a private car, and a tight route linking multiple key battlefield sites across Arnhem and Oosterbeek. The tour is designed to save you the hassle of figuring out driving and timing yourself.
Also, most of the main stops have free admission tickets, so you aren’t paying extra at each location just to participate. Your big extra cost is mainly lunch.
Is it “worth it” for everyone? If you’re traveling solo and you could do the route by public transport and self-guided reading, the price may feel harder to justify. But for couples, small groups, or anyone who wants a coherent story delivered at the exact locations where it happened, the private format becomes the whole point.
For up to three people, you also spread the cost in a way that can make it feel more reasonable than many private tours.
Who This Tour Fits Best (and Who Might Prefer Something Else)
This tour is a strong fit if you:
- Want a guided battle narrative that connects physical places to what happened
- Prefer private, location-based history over reading on your own
- Like the idea of original maps and survivor-informed storytelling
- Value a structured route with predictable timing
It may be less ideal if you:
- Want a lot of free time at each stop to wander slowly
- Plan to spend extra hours at museums or in indoor exhibits (this day is mostly about outdoor, site-based learning)
- Feel uncomfortable with emotional memorial settings and prefer lighter content
If you’re a history lover who also likes practical pacing, you’ll probably find this tour hits a nice balance: enough time to see and understand, without turning your day into a marathon.
Should You Book This Private Battle of Arnhem Tour?
I’d book it if you want a clear, guided way to understand Arnhem without getting tangled in details on your own. The biggest reason is the combination of David’s storytelling, original maps, and the site selection—it turns scattered locations into one understandable sequence.
If you’re the type who enjoys history only when it comes with context and a sense of what it felt like on the ground, this route is built for you. Just come ready for a focused half-day: wear comfortable shoes, budget separately for lunch, and allow the memorial stop to land.
If you’re traveling as a pair or a small group and you’re okay paying for convenience and expert guidance, the private car format makes the day feel efficient instead of rushed.
FAQ
Where does the tour start and end?
The tour starts at Arnhem Central Station (Stationsplein 166, 6811 KL Arnhem, Netherlands) and ends back at the same meeting point.
What time does the tour start?
The tour starts at 10:00 am.
How long is the tour?
The tour lasts about 6 hours, and the travel time is included in that total.
Is pickup available?
Yes. Pickup is offered, and you can be picked up near Arnhem or Oosterbeek, or at/near Arnhem Central railway station, Oosterbeek railway station, or Ede railway station. The best pickup point is discussed before booking is final.
Is this tour private, and who participates?
This is a private tour/activity, so only your group participates. The price is listed per group up to 3.
What language is the tour in, and do I get tickets on my phone?
The tour is offered in English, and you’ll have a mobile ticket.
What’s included in the price?
The tour includes private transportation and the guided experience.
Is lunch included?
No. There is a lunch stop in Oosterbeek, but lunch is not included in the price.
Do I need to pay admission at the stops?
No. The listed stops include free admission tickets.
What is the cancellation policy?
You can cancel for free up to 24 hours in advance for a full refund. If you cancel less than 24 hours before the start time, the amount paid won’t be refunded.