REVIEW · ARNHEM
Battle Of Arnhem Route Self Guided 5km – 2,5 hours
Book on Viator →Bookable on Viator
Five kilometers, and Arnhem’s WWII story comes alive. This self-guided Battle of Arnhem route uses a mobile ticket and photo-based storytelling that tracks exactly to where you are, stop by stop. It’s an easy day activity that turns a normal walk through the city into a clear timeline you can follow at your own pace.
I like how it lands on real, named places you can actually point to on the map, from Arnhem Central Station to the John Frost Bridge. One thing to consider: it’s self-guided only, so there’s no live guide to answer questions or add extra color on the spot—your experience depends on reading the photo notes and using the map links.
In This Review
- Key points worth knowing before you start
- A 5km WWII walk you can do on your own time
- Price and value: $14.89 per group for up to 4
- Getting oriented at Arnhem Central and the SPAR starting spot
- St. Elisabeth Hospital area: a building spared in the chaos
- Urquhart House and the Major-General shelter story (plus the movie link)
- Sabelspoort / Eusebiuspoort uit 1357: an old gate with scars
- Airborne at the Bridge: the free museum stop that adds clarity
- John Frost Bridge: the end point with bombings across years
- Using the PDF, Google Map links, and photo notes
- Is it worth it for you? Who should book this self-guided route
- Timing: how to plan 2.5 hours without rushing
- Final verdict: should you book the Battle of Arnhem route?
- FAQ
- How long is the self-guided Battle of Arnhem route?
- Where does the tour start and end?
- Is the route available in English?
- Do I need tickets for the stops?
- Is there a live guide with this experience?
- How much does it cost?
- What if I need to cancel?
Key points worth knowing before you start
- Photo-led wayfinding that explains what you’re seeing at each location, not just where to go
- Landmarks with WWII meaning, including the former St. Elisabeth Hospital and Major-General Urquhart’s shelter spot
- A free museum stop at Airborne at the Bridge, with a video timeline on level -1
- A real sense of scale: 5km, usually about 2.5 hours, with room to linger
- Great end point: John Frost Bridge, plus an easy walk back toward the city center or Arnhem Central
A 5km WWII walk you can do on your own time
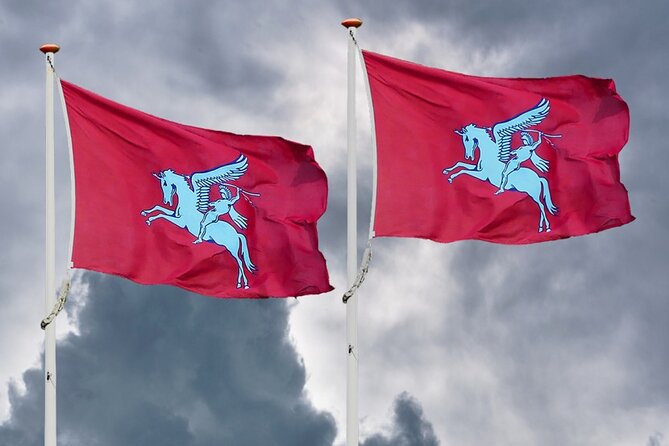
This is a straightforward, self-guided route through Arnhem tied to the Battle of Arnhem and Operation Market Garden context. The total distance is about 5km, and the walk typically takes around 2 hours 30 minutes. For me, the best part of self-guided is control: you can slow down where you care, and speed up through the bits you don’t.
You’ll start near Arnhem Central Station and finish at the John Frost Bridge. Along the way, you get photo notes that connect specific WWII moments to specific streets and buildings. Since everything is marked to real locations, it feels more like a personal guided stroll than a random “read about history” mission.
You can also read our reviews of more tours and experiences in Arnhem.


Price and value: $14.89 per group for up to 4
The cost is $14.89 per group (up to 4 people). That matters because you’re not paying per person. If you’re traveling with family or friends, the value jumps fast since the same route files and photo guidance work for your whole group.
Also, most of the stops are admission ticket free. That doesn’t mean every bit is free in the sense of time or effort, but you won’t hit surprise entry fees while following the story. The one museum moment is also fee free at Airborne at the Bridge.
If you’re traveling solo, it still can be worth it if you like walking with a purpose. If you prefer a conversation with a human guide, you might feel the absence—there’s no live guide here.
Getting oriented at Arnhem Central and the SPAR starting spot
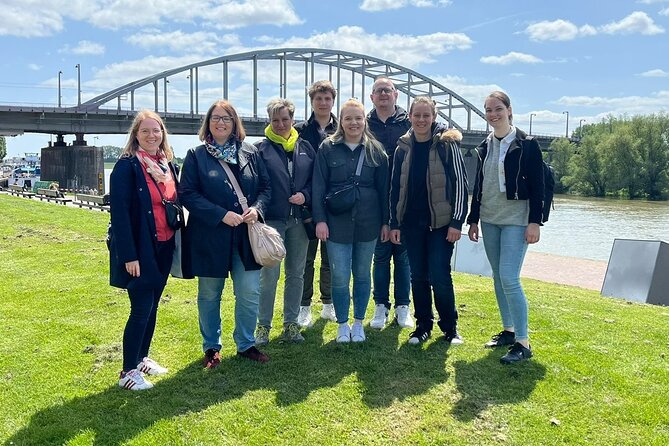
Your route kicks off near Arnhem Central railway station, specifically in front of the SPAR supermarket. The official meeting point is Willemsplein 22 (near that same central area). This is a smart start for two reasons.
First, it’s easy to find without needing a taxi or complicated transit transfers. Second, starting by a major station gives you a natural “reset” moment: you know where you are in the city, then you move outward into the story.
Expect the first set of photo information to start right away. You’re not just collecting facts—you’re building bearings. The route is designed so the visuals match the place you’re standing in, which makes it much easier to remember what you just learned.
St. Elisabeth Hospital area: a building spared in the chaos
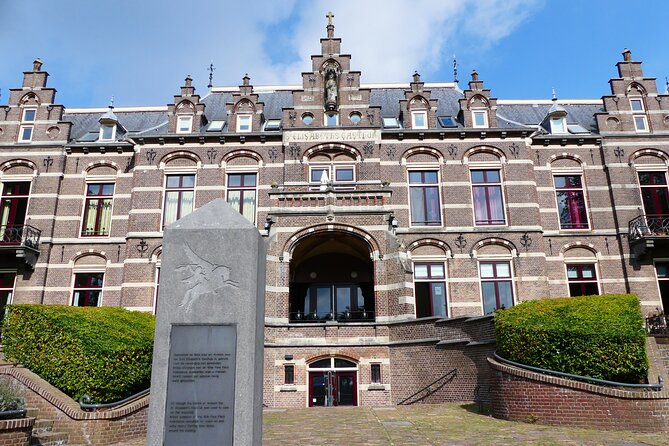
Next you head toward Tandartsenpraktijk St. Elisabeths Gasthuis, a practical clue that you’re walking through real Arnhem today, not an abandoned set. The route also points you toward the Utrechtsestraat and mentions a lookout point with views over the south of Arnhem.
The highlight here is the St. Elisabeths (former) Hospital, described as one of Arnhem’s iconic buildings and important during the Battle of Arnhem. What I find compelling is the contrast: much fighting happened around the former hospital, yet the hospital itself was spared because of its function. That’s the kind of detail you only really appreciate when you’re standing near the building and can see how it sits in the city.
Timing is generous enough to pause. The stop block here is about 20 minutes, so you can read the photo notes, look around, and get that wider view toward the south when the route offers it.
Possible drawback: if it’s a windy day or you’re in a hurry, you might be tempted to rush the viewpoints. Don’t. The whole point is understanding why a location mattered, and a city view gives the story more weight.
Urquhart House and the Major-General shelter story (plus the movie link)
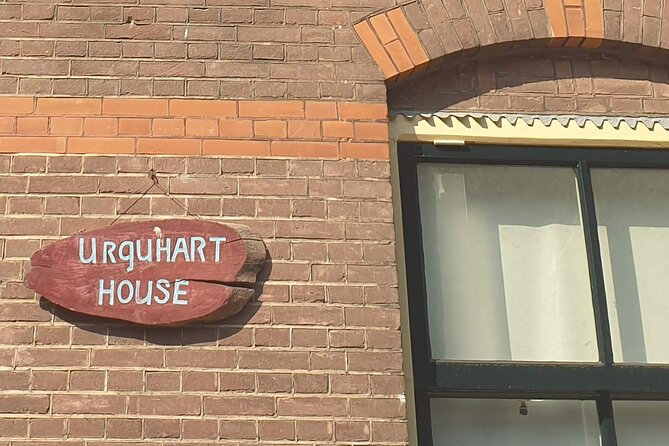
Just around the corner from the hospital area you’ll come to ‘T Huukske, tied to the Urquhart House—the place where Major-General Urquhart took shelter. The route also connects this moment to the movie A Bridge Too Far, including the casting detail that the General is played by Sir Sean Connery.
Even if you’re not a movie person, this is a good stop because it’s about decision-making under pressure, not just battle lines. You’re learning how leaders adapted in real time, using a specific place as the anchor.
This stop also helps the route stay human-scale. “Here’s a doorway. Here’s where someone waited.” That makes the history easier to hold in your head as you continue.
Allow about 20 minutes here. In practice, I’d use that time to read the photo notes once, then take one slow walk around to confirm you’re oriented to the right spot before moving on.
Sabelspoort / Eusebiuspoort uit 1357: an old gate with scars
You’ll pass the Sabelspoort of Eusebiuspoort uit 1357 along the route. This is the only old gate in the city left in tact. The gate was heavily damaged during the Battle of Arnhem, then rebuilt after WWII.
One practical note: entrance isn’t possible, so you can’t go inside or treat it like a full visit. But the route still encourages you to explore the outside and take photos. That’s useful, because it means you don’t need tickets, guided entry, or extra time blocks. You can still get the sense of how old infrastructure survived war damage and postwar repair.
This is a quick stop—about 15 minutes—and it works best if you treat it like a “pause and register” moment. Look up. Notice the rebuild context. Then keep walking.
Airborne at the Bridge: the free museum stop that adds clarity
About halfway through the walk, you reach Airborne at the Bridge, described as a fee-free museum stop. If you care about a timeline, this is the part that helps the route click.
The museum includes a video impression of the Battle of Arnhem timeline, and the route specifically says to go down to level -1 for that. I like this kind of structure. The rest of the route is place-based. Here you get the “what happened when” behind the locations you’ve been reading about.
Plan for around 25 minutes at this stop. If you only do a quick glance, you’ll miss the value of the timeline. If you go too long, you’ll feel rushed when you’re heading to the bridge. Aim for a focused visit: video first, then a quick scan of what else is there.
John Frost Bridge: the end point with bombings across years
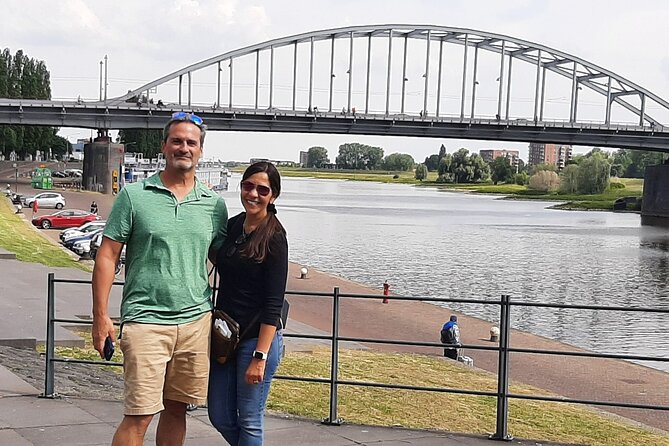
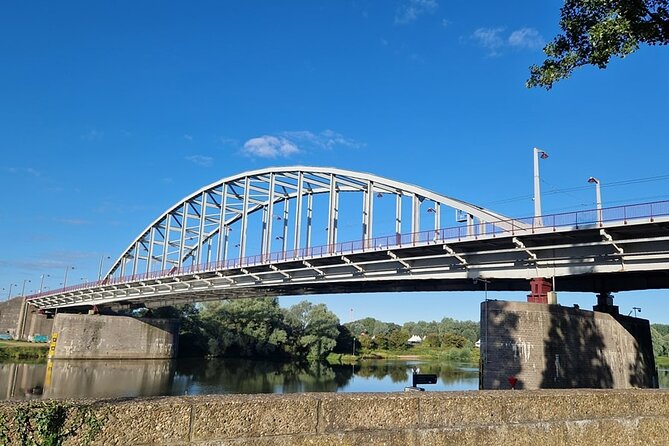
The route ends at the John Frost Bridge (John Frostbrug). This is the kind of finishing location that gives your walk a real emotional shape. It’s not just another landmark; it’s a site you’re closing the story on.
The route shares a detail that hits hard: during the war, the crossing was bombed three times—by the Dutch (1940), the Allies (1944), and the Germans (1945). That’s a lot to process, and it makes the bridge more than a photo-op.
Take your time to explore the bridge. The route even suggests you remember those who fought and fell. I recommend doing two things here: read the key photo notes once more before you walk the span, then do one slow lap along the bridge area so the place feels real, not just learned.
For timing and logistics, you’ve got easy options afterward. It’s about a 5–10 minute walk back to the city center, and about a 20 minute walk back to Arnhem Central Railway Station. That’s helpful if you want to finish the route and then keep sightseeing without needing a new plan.
Using the PDF, Google Map links, and photo notes
This experience comes with a PDF route guide plus Google Map links, and you also get photos tied to each stop. You should use those map links, especially at the start. The meeting point is near Arnhem Central and SPAR, but Arnhem’s streets can still be confusing if you’re arriving from a different direction.
My best practical tip: get your phone set up before you begin walking. Open the PDF and pin the route stops (or have the Google Map links ready). Once you start, don’t treat navigation as something you handle “later.” The route is designed so you connect the photo notes while you’re at the right place.
Because it’s mobile-ticket based, you’ll also want your ticket accessible offline if your phone battery runs low. Bring a portable charger if you’re doing other city stops too.
Is it worth it for you? Who should book this self-guided route
This route fits best if you enjoy walking and want history that’s connected to exact locations. It’s also a good pick for mixed ages, since the pacing is flexible and the stops are time-boxed with clear entry moments like the free museum and the bridge.
I’d especially recommend it if you:
- Like WW2 history but don’t want a full-day guided tour
- Enjoy photo-based interpretation more than long text
- Want a route that finishes in a walkable, memorable place (John Frost Bridge)
If you want a conversation, interactive Q&A, or a tailored explanation based on your questions, you may feel boxed in by the lack of a live guide. Still, many people love the independence, and the photo notes are doing the “teaching” work for you.
Timing: how to plan 2.5 hours without rushing
The route’s suggested duration is about 2 hours 30 minutes. That’s long enough to read the photo notes and stop at Airborne at the Bridge, but short enough to fit into a day trip schedule.
In planning terms, build your day like this:
- Start early enough to arrive at Arnhem Central without stress
- Give extra time to the hospital area and the free museum
- Treat the bridge as your final decompression moment, not a quick stop
Also, this experience is commonly booked about 11 days in advance on average. That’s a subtle hint that it’s popular and easy to sell out if you’re leaving it late. If you have fixed travel dates, I’d book when your schedule is set.
Final verdict: should you book the Battle of Arnhem route?
I’d book it if you want a high-value, low-cost way to understand the Battle of Arnhem by walking the city with guided photo notes. The structure is clear, the stops are meaningful, and the free museum at Airborne at the Bridge adds timeline context so the places make sense.
Skip it if you strongly prefer a live guide who can improvise and answer questions in real time. Also consider your patience: since the route depends on reading and looking, you’ll get more out of it if you slow down at least a little.
If you like self-guided walking that still feels purposeful, this is a solid choice—especially for groups since the price is per group up to 4.
FAQ
How long is the self-guided Battle of Arnhem route?
It lasts about 2 hours 30 minutes (approx.) and covers around 5km.
Where does the tour start and end?
It starts near Arnhem Central Station by the SPAR supermarket area, with the meeting point at Willemsplein 22, 6811 KB Arnhem. It ends near the John Frost Bridge area, with the end point listed as Foundation Housing on Kadestraat 1, 6811 CA Arnhem.
Is the route available in English?
Yes, it’s offered in English.
Do I need tickets for the stops?
The listed stops are marked as admission ticket free, and the Airborne at the Bridge museum stop is also fee free.
Is there a live guide with this experience?
No. This is a private, self-guided activity, so there’s no live guide.
How much does it cost?
It costs $14.89 per group, up to 4 people.
What if I need to cancel?
This experience is non-refundable and cannot be changed for any reason. If you cancel or request an amendment, the amount you paid will not be refunded.