REVIEW · AMSTERDAM
Amsterdam Night Photography Workshop with a Professional
Book on Viator →Operated by Isee Amsterdam Photography Tours · Bookable on Viator
Night Amsterdam turns the streets into photos.
This 90-minute workshop aims at one thing: getting you good results after dark in Amsterdam, guided by David, a university lecturer with 15 years in the photography industry. You’ll meet near Amsterdam Centraal and then head into the Red Light District area to chase light, reflections, and night mood.
What I like most is that the focus isn’t just on where to point your camera. It’s also on how to think like a photographer at night—settings, framing, and composition. You’ll also appreciate the small group cap of up to 5, which makes it easier to get hands-on help instead of staring at your screen and guessing.
One thing to consider: the experience needs good weather, so a wet, gray night can mean a reschedule or change of plans. And since it’s a late-evening shoot in a sensitive neighborhood, you’ll want to feel comfortable walking around there after dark.
In This Review
- Key takeaways before you go
- Why night photography in Amsterdam is different
- Meet up near Amsterdam Centraal: timing and flow
- Red Light District at 9:30 pm: what you’ll actually shoot
- What David teaches: settings, composition, and depth
- Gear help: bring your setup or borrow what you need
- How 90 minutes can still feel worth it
- Weather and neighborhood realities (the practical stuff)
- Who this workshop suits best
- A quick note on meeting smoothly
- Should you book this Amsterdam night photo workshop?
- FAQ
- How long is the Amsterdam Night Photography Workshop?
- Where is the meeting point?
- What time does the workshop start?
- Is the tour in English?
- How big is the group?
- Do I need to bring camera gear?
- Is a tripod provided?
- Do I need to have experience with manual shooting?
- What happens if the weather is bad?
- Is there free cancellation?
Key takeaways before you go
- Small-group attention (max 5) keeps the teaching personal.
- David’s hands-on coaching covers night basics plus composition and depth.
- Red Light District lighting gives you reflections and strong “night subject” contrast.
- Bring or borrow gear so you’re not stuck without the right tools.
- Weather matters because night photography needs workable light and conditions.
Why night photography in Amsterdam is different
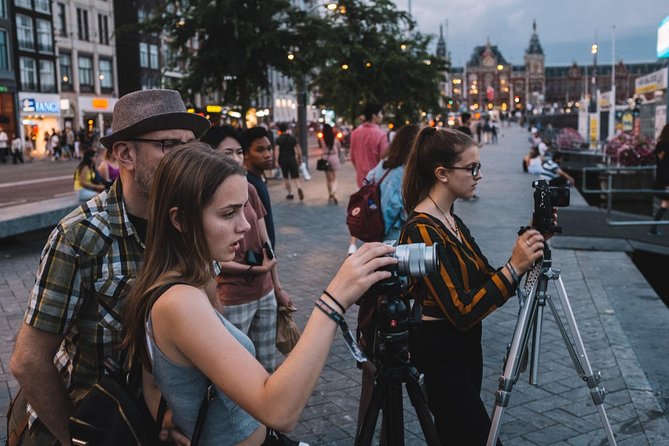
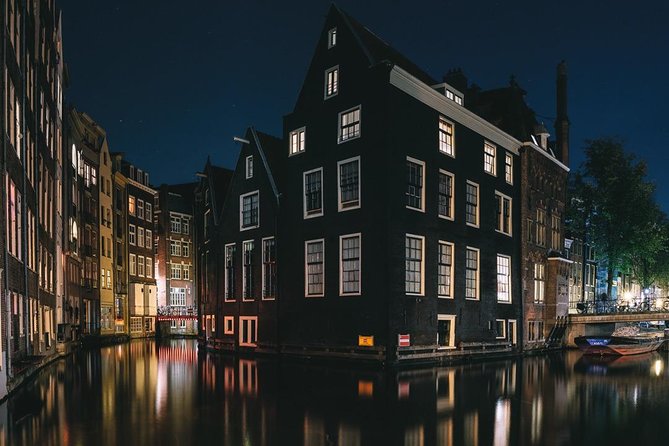
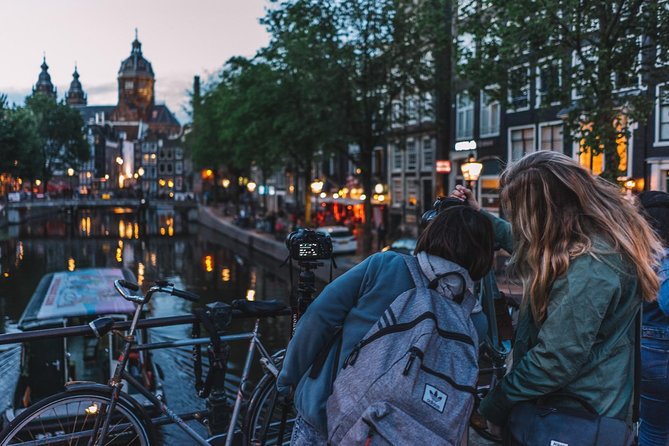
Amsterdam at night has a way of turning normal streets into a photography assignment. You get street lamps, canal glints, and window glow all competing for your attention. The challenge is turning that chaos into a photo that feels intentional, not accidental.
This workshop is built for that moment when the city’s light patterns finally click. You’re not just taking pictures—you’re learning how to control the look. Long exposures help you smooth lights and reveal motion, while good composition helps you avoid the common beginner trap: shooting everything, but framing nothing.
I also like that the teaching is aimed at multiple levels. The format is described as working from absolute beginners through industry professionals, which usually means you’ll get enough structure to start with, plus adjustments if you know your way around manual settings.
You can also read our reviews of more tours and experiences in Amsterdam.
Meet up near Amsterdam Centraal: timing and flow
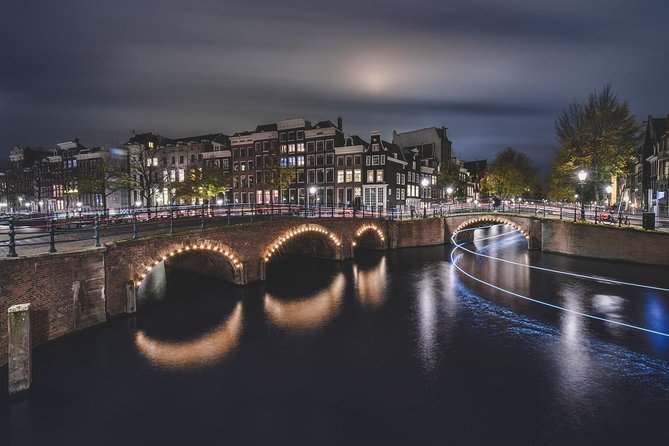
You start at Stationsplein, 1012 AB Amsterdam, at 9:30 pm. The session runs about 1 hour 30 minutes, and it ends back at the meeting point. That “back where we started” structure matters for night events. It reduces stress. You’re not wondering how to get home in the dark after you’ve been concentrating on your camera settings for an hour.
The tour is offered in English and uses a mobile ticket, with confirmation received at booking. It’s also positioned as near public transportation, which is practical in Amsterdam where you often want to hop on/off quickly.
Because the group is limited to 5 travelers, you should expect more time for individual feedback—help with a shot you’re struggling to frame, or a setting that’s not giving the results you want. In the reviews, people specifically called out how patient David was, and how he gave setup suggestions for better results.
Red Light District at 9:30 pm: what you’ll actually shoot
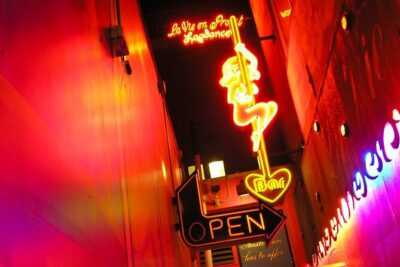
The itinerary takes you to the Red Light District. On paper, that can sound like a “photo location” label. In practice, it’s about lighting. The area is full of illuminated signs, indoor light spilling onto the street, and strong contrasts between dark corners and bright highlights.
For night photography, that contrast is gold. It helps you create photos with clear focal points, especially if you’re aiming for long exposures. Bright sources turn into streaks or glowing shapes when your shutter speed is slower, and those light sources give your composition something to organize around.
The best part of shooting here with a pro is getting past the obvious shots. You don’t just point at the main lights. You learn to look for angles, reflections, and “leading lines” that pull the viewer through the frame. Reviews also mention off-the-beaten-path perspectives in quieter spots, which suggests the workshop moves beyond the most crowded view.
A practical note: this is a neighborhood with a distinct atmosphere, and it’s at night. If you’re easily uncomfortable with adult-themed surroundings, you may want to think twice. If you’re fine with it, the lighting here can give you photos you can’t easily replicate in a calmer area.
What David teaches: settings, composition, and depth
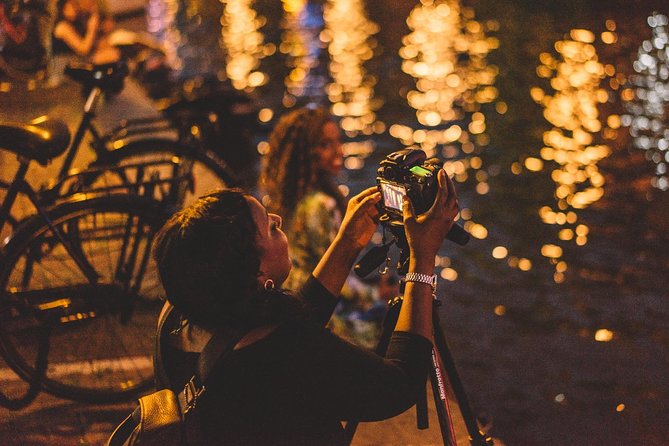
This workshop is more than a walk with a camera. David is described as having 15 years of professional experience and teaching in a university setting, so you should expect an educational approach, not just “here’s where we stand—shoot.”
From the feedback you can take a clear theme: people left with practical night basics and clearer composition habits. One review highlights patience while learning night photography basics and how to execute them. Another mentions helpful composition tips. Another points to discussions about depth, composition, and manual shooting.
Here’s what that usually means for your shots, even if you’re still new to manual mode:
- You’ll focus on getting the exposure under control so the light sources don’t blow out while the rest of the scene still looks usable.
- You’ll work on composition so your frame has structure: a subject, balance, and a reason for your camera position.
- You’ll pay attention to depth, which is how you keep a night scene from looking flat when everything is dark.
A big win is that you’re not stuck with generic advice. With a group of up to 5, your guide can notice your specific problem—camera too dark, focus issues, blurry long exposure due to movement, or framing that hides the good light.
And yes, long exposures can be magical. The workshop idea is built around that payoff: the moment when you nail a shot and the result looks like the city you imagined, not like a noisy screenshot.
Gear help: bring your setup or borrow what you need
Night photography quickly turns into a gear conversation. Tripods matter because long exposures need stability. Manual shooting matters because auto modes can struggle with bright light sources and dark surroundings.
The workshop says you can bring or borrow equipment, so you’re not required to show up fully kitted out. One review specifically mentions David providing a tripod, which is a strong hint that at least some visitors can get the tools needed without carrying extra weight.
If you already own a tripod, bring it. If you don’t, it’s still worth going, because the workshop is designed so you’re not excluded by equipment gaps. If you’re borrowing, do what any smart photographer does: arrive with your camera charged and ready, and be ready for a quick check of how you mount it and lock in stability.
Also, don’t underestimate the value of having someone suggest settings based on your scene. One review called out setting suggestions for best results, which is exactly what you want at night—fewer guess-and-check cycles, more time practicing the look you came for.
How 90 minutes can still feel worth it
At $114.39 per person for about 1 hour 30 minutes, you’re not paying for a half-day spectacle. You’re paying for concentrated instruction in a city that’s already full of “something to photograph.”
So the value question is simple: will you leave with new skills, not just a few photos?
Based on the emphasis in the descriptions and the feedback, the workshop is aimed at helping you understand night technique and where to shoot. Reviews repeatedly praise how helpful and patient David was, how he guided people to excellent photo ops, and how he shared composition and equipment tips.
That matches what you’d want in this price range: specific guidance and the chance to refine your shots during the session, not after you’ve already packed up.
The small group cap matters here. Even if you’re the only person struggling with manual settings, the guide’s time isn’t spread across a huge crowd. That can turn a short workshop into a “real learning” experience.
Weather and neighborhood realities (the practical stuff)
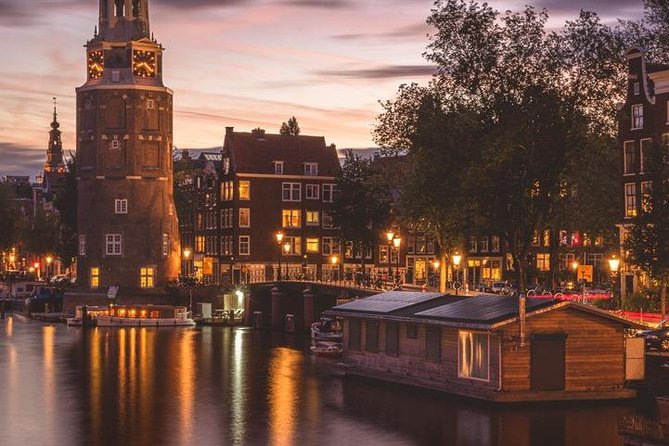
This workshop requires good weather. That’s not a minor detail. Night photography often depends on consistent conditions: workable visibility, less rain glare, and fewer surprises with your exposure and reflections.
If the weather doesn’t cooperate, you’ll be offered a different date or a full refund. That gives you a little safety net, but it also means you shouldn’t book this when you’ve already locked in other commitments for that exact evening.
Then there’s the neighborhood setting. You’re shooting in the Red Light District at night. If you’re traveling with someone who doesn’t enjoy adult-oriented areas, it can affect how pleasant the walk feels, even if the photography is great.
My advice: plan your outfit and comfort as carefully as your camera settings. Wear shoes you can walk in for an hour. Keep your camera strap secure. And give yourself a little margin so you’re not rushing at the 9:30 pm start time.
Who this workshop suits best
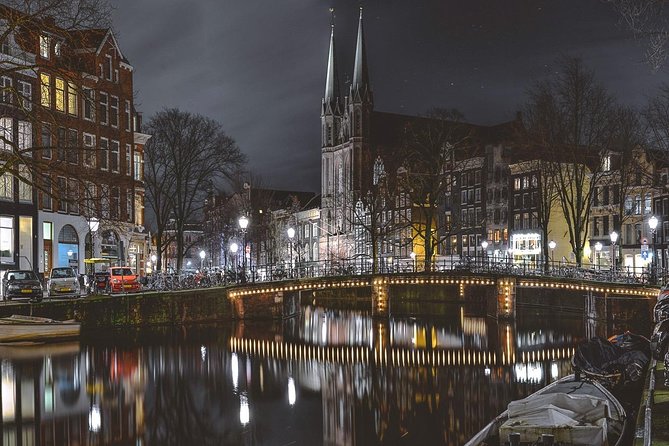
This experience is a good fit if you want:
- A clear night photography focus in Amsterdam, not a general sightseeing photo walk
- One-on-one-style guidance within a small group
- Support for beginners, plus enough explanation to be useful if you already shoot manually
The workshop is described as working for absolute beginners and industry professionals alike. That’s a broad range, but the small group size makes that kind of flexibility more realistic.
It’s also a smart pick if you’ve seen Instagram night photos of Amsterdam and you want to understand how those looks are made. The key difference is not the “coolness” of the city. It’s your ability to control the camera while you’re in it.
If you already know your way around long exposure basics and composition, you may still get value from being guided to better shooting angles and from getting corrections in real time.
A quick note on meeting smoothly
Because it’s a night workshop, meeting point clarity matters. The start is at Stationsplein and the guide is expected to be easy to find near central Amsterdam transit.
One caution from a negative incident: there was a dispute where a participant claimed they were not met on time. The response attached to the experience states the guide provided proof of being at the correct location and time. I can’t judge who’s right from outside the situation, but I can tell you this: for a night shoot, you should confirm the exact meeting spot in advance and send a message if anything feels off.
This is a place where being proactive beats blaming. Arrive a few minutes early. Keep your phone charged. If you see the guide and you’re unsure, ask right away.
Should you book this Amsterdam night photo workshop?
I’d book it if you want a focused, small-group night shoot with clear teaching and a guide who can help you get better photos fast. The strongest reasons to go are the combination of practical instruction, the small group size (so you’re not lost), and the lighting-rich location.
I would think twice if:
- your schedule can’t handle weather-related changes
- you feel uneasy walking around the Red Light District at night
- you hate late-evening meetups and prefer daytime activities
If you do book, go in with two goals: learn how to set up for night shots, and practice composition until your photos look intentional. If you keep those goals in front of you, the 90 minutes will feel like time well spent—not just another evening in Amsterdam.
FAQ
How long is the Amsterdam Night Photography Workshop?
It runs for about 1 hour 30 minutes.
Where is the meeting point?
You meet at Stationsplein, 1012 AB Amsterdam, Netherlands.
What time does the workshop start?
The start time is 9:30 pm.
Is the tour in English?
Yes, it’s offered in English.
How big is the group?
The maximum group size is 5 travelers.
Do I need to bring camera gear?
You can bring your own equipment or borrow equipment so everyone can take part.
Is a tripod provided?
Some participants report that a tripod was provided by the guide, so it’s worth checking what’s available for your booking.
Do I need to have experience with manual shooting?
No. The workshop is described as suitable for absolute beginners and also helpful for more advanced photographers.
What happens if the weather is bad?
The experience requires good weather. If it’s canceled due to poor weather, you’ll be offered a different date or a full refund.
Is there free cancellation?
Yes. You can cancel up to 24 hours in advance for a full refund.