REVIEW · AMSTERDAM
Amsterdam Photography Masterclass – Private Photography Lesson
Book on Viator →Operated by Aperture Tours · Bookable on Viator
Amsterdam’s best photos are rarely luck. This private masterclass turns a simple walk into a focused lesson, with quick stops at the city’s most shootable spots and hands-on guidance. I like the short practice sessions because they help you test settings fast and not spend the whole time just looking.
Two things I really appreciate: you get a professional photographer guide (not just a sightseeing guide), and you can steer the session toward what you want to photograph. That matters because Amsterdam’s look changes a lot with light, so the class approach helps you learn why your images work (or don’t), not just where to point your camera.
One thing to consider up front: you need to bring your own DSLR camera. A tripod is available upon request, but it’s not included, so if you rely on one, plan ahead—especially for night shooting.
In This Review
- Key highlights you’ll care about
- A 3-hour Amsterdam walk that teaches your camera, not just the city
- Private guidance for a small group (max 4)
- Daytime vs evening tours: plan around the light you want
- Stop-by-stop: what you’ll practice across Amsterdam’s key photo spots
- Statue Amsterdams Lieverdje (free admission)
- Voetboogstraat, including Beijbhof de Voetboogsteeg (free admission)
- Leidsegracht bridges and canal frames (free admission)
- Rijksmuseum and grounds (free admission for this stop)
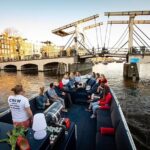
- Magere Brug (free admission)
- Nieuwe Kerk (free admission)
- Blauwbrug (free admission)
- Nieuwmarkt (free admission)
- Huis Bartolotti (Museumhuis Bartolotti) (free admission)
- What the pro photographer actually helps you with
- Price and value: how $204.24 stacks up
- Gear checklist: DSLR needed, tripod by request
- Getting the most out of the short shooting windows
- Weather and comfort: Amsterdam can change fast
- Who this masterclass is best for
- Should you book this Amsterdam masterclass?
- FAQ
- How long is the Amsterdam Photography Masterclass?
- Is this a private tour?
- What language is the tour offered in?
- Do I need to bring my own camera?
- Is a tripod included?
- Is the tour held in bad weather?
- Where does the tour start and end?
- Are there admission fees for the listed stops?
Key highlights you’ll care about
- Private lesson format (up to 4 people): more feedback, less waiting around
- Daytime or evening options: you can target morning light, sunset color, or night reflections
- Pro photographer guidance: camera settings and composition coaching, not just photo ops
- Iconic Amsterdam stops: bridges, canals, and well-known façades in a tight route
- Free admission at each stop: you won’t waste time on ticket lines for the listed locations
A 3-hour Amsterdam walk that teaches your camera, not just the city
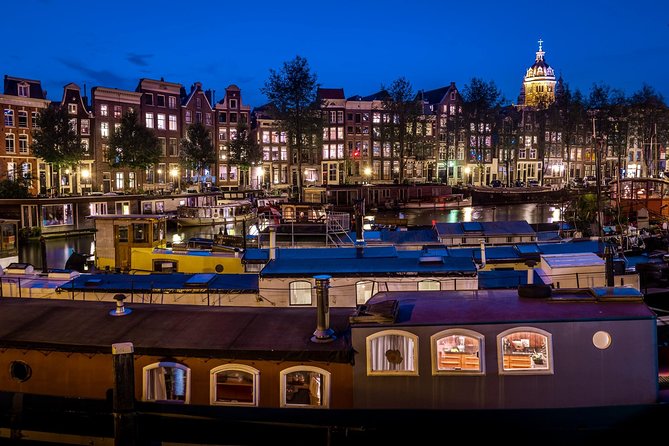
This isn’t a giant tour bus situation where you rush past everything with your camera in “hope mode.” The format is built around a calm pace and focused practice: you move between major sights, then you get a short window to shoot with instructions in mind.
You’ll spend about 3 hours total, broken into about 20 minutes per stop. That timing is a big deal. It keeps the lesson moving, and it gives you repeated chances to try a setting, adjust, and compare results.
The payoff is that you start treating Amsterdam like a photo set. You notice reflections on the water, how bridges frame the canal, and how your lens choice affects both buildings and street-level detail. It’s practical city photography training with a real teacher talking you through decisions.
You can also read our reviews of more tours and experiences in Amsterdam.
Private guidance for a small group (max 4)
The group limit is up to 4 people per booking, and it’s private. In plain terms: you’re less likely to get stuck with a one-size-fits-all lecture, and more likely to get help with your exact camera setup.
This is where the lesson format can feel surprisingly personalized. If you’re new, you can ask basic questions without feeling rushed. If you already know some settings, you can request more targeted help—like night exposure technique or composition strategies for canals and stone façades.
I also like that it’s offered in English. Photo teaching is full of small details (numbers, settings, timing), and having clear language matters when you’re trying to change one thing at a time.
Daytime vs evening tours: plan around the light you want
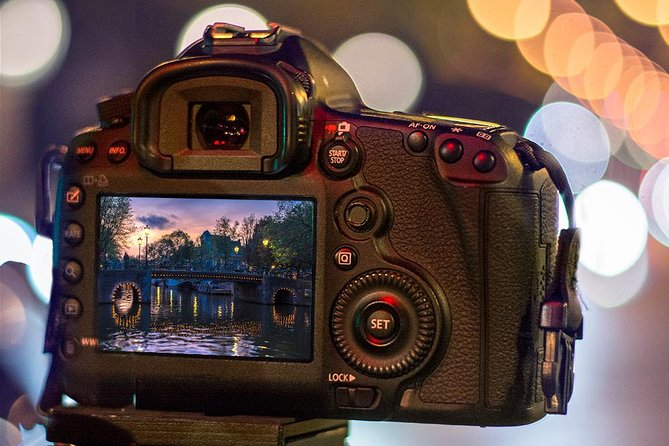
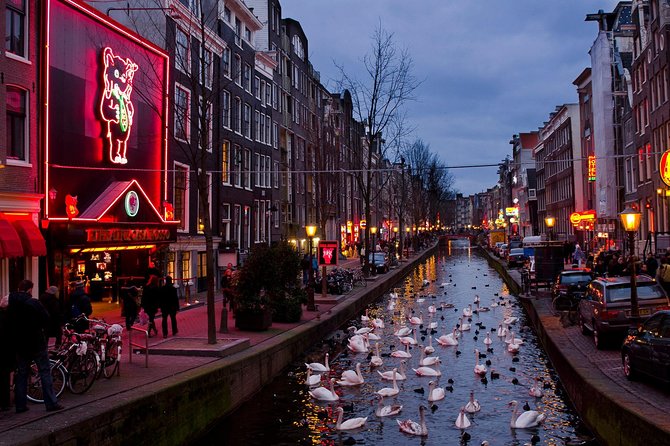
Amsterdam is all about light shifts. A daytime session helps you build fundamentals: composition, exposure basics, and clean framing of buildings and bridges. An evening session pushes you toward more advanced skills—exposure and light control in lower light.
The fact that you can choose day or evening makes this masterclass easier to fit into your real schedule. You’re not forced into one lighting style. Want crisp blues and daytime clarity? Choose daytime. Want reflections and moodier city tones? Choose evening.
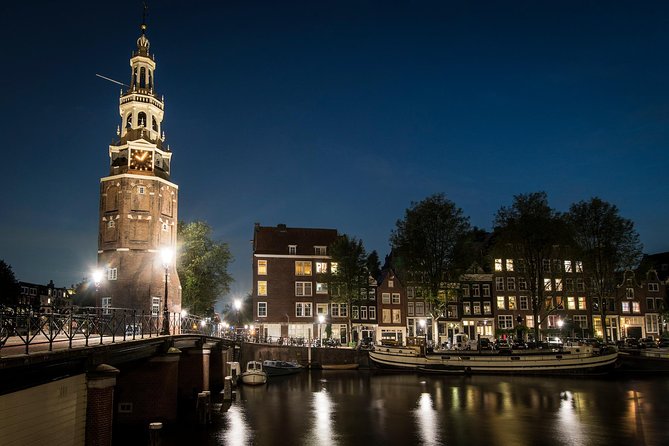
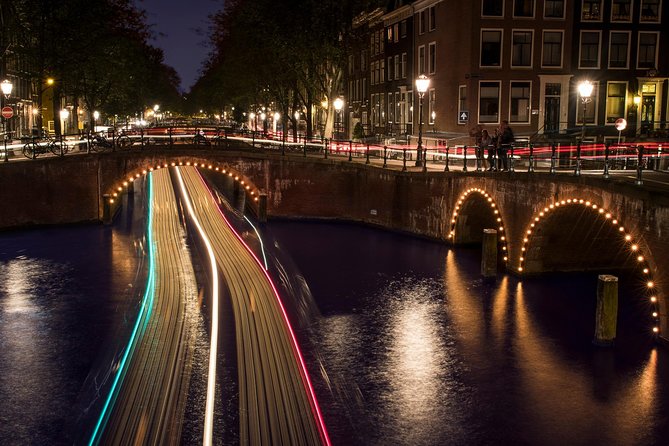
If you do the evening option, expect the coaching to focus on what changes when it’s dark: shutter speed, how light gathers, and how to avoid the classic blurry-night regret. One of the instructors highlighted in the feedback—Renzo—was specifically praised for teaching night photography so people could finally get results they’d struggled with before.
Stop-by-stop: what you’ll practice across Amsterdam’s key photo spots
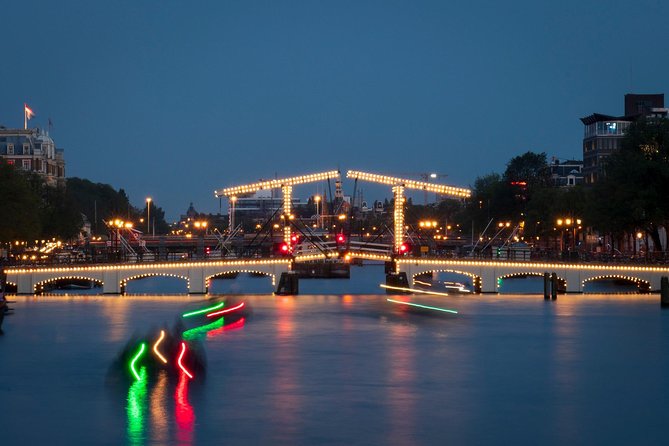
The route is designed like a studio assignment, but outdoors. Each stop is a compact target with enough time to shoot multiple angles and then adjust based on guidance.
Below is what each location gives you as a photography subject, plus what to watch for while you shoot.
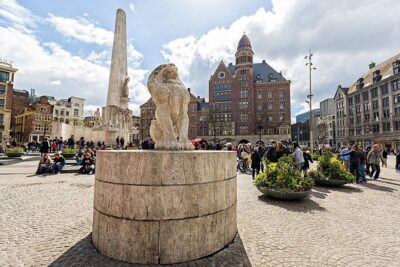
Statue Amsterdams Lieverdje (free admission)
This small statue stop is perfect for learning how to isolate a subject in a busy city. It’s a “find the focal point” exercise.
Spend the time trying:
- different angles (slightly lower, slightly higher)
- wider framing vs tight detail
- how the background blur changes when you move even a few steps
Since the time here is short, it’s a good warm-up before larger landmarks.
Voetboogstraat, including Beijbhof de Voetboogsteeg (free admission)
This is where you can practice street-level storytelling. Narrow streets and passageways naturally create strong lines and visual depth.
In your photos, you’ll likely want to experiment with:
- leading lines that pull the eye down the street
- doorways, arches, and small textures
- balancing bright surfaces with darker corners
This stop is a reminder that Amsterdam photography isn’t only canals and museums. Sometimes the best photos come from finding patterns and angles in everyday spaces.
Leidsegracht bridges and canal frames (free admission)
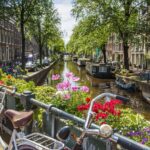
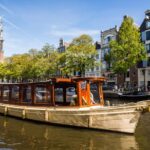
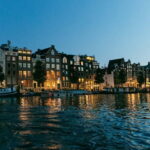
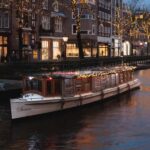
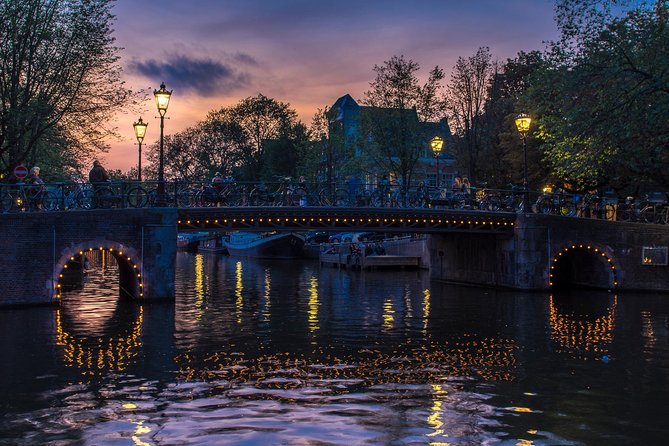
Canals are one reason Amsterdam is so forgiving for photography lessons. You get reflections, repeating shapes, and lots of natural framing options.
At Leidsegracht, the bridge shots help you learn composition with structure:
- use the bridge as a frame for water and buildings
- shoot straight-on for symmetry or at an angle for depth
- watch how your horizon line sits relative to water level
This is a stop where a pro guide can save you time. You’ll learn what angles create “clean” reflections versus what angles introduce distracting clutter.
Rijksmuseum and grounds (free admission for this stop)
Even if you’re not entering the museum, the Rijksmuseum area gives you a classic façade subject and wide grounds to work with. It’s a strong place to practice how to photograph large, detailed architecture without getting everything “zoomed flat.”
Try two approaches:
- a wider composition that shows the building’s scale
- a tighter crop that emphasizes lines and repeating details
This stop is also good for learning how to meter exposure when bright sky competes with stone and shadow.
Magere Brug (free admission)
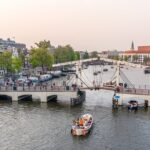
This is a key bridge subject, and it’s ideal for learning how to photograph a landmark bridge in a way that looks intentional—not just “I took the picture.”
Bridge-and-water scenes are where you can really test exposure and contrast:
- aim for reflections if the water cooperates
- watch highlights on the bridge and adjust exposure to keep detail
- shoot from multiple points across the canal if you’re able
If you’re doing an evening session, Magere Brug is especially useful for learning how night light turns into reflections.
Nieuwe Kerk (free admission)
A church façade gives you strong architectural lines and a clear “verticals” problem. In other words: it’s where you’ll start caring about perspective.
You’ll likely practice:
- framing the façade without making buildings look too tilted
- shooting from step-back angles rather than too close
- using your camera position to control distortion
This stop is the kind of lesson moment where small changes in where you stand can dramatically improve the look.
Blauwbrug (free admission)
Another bridge stop, which is actually good news: you’re comparing composition ideas across similar subjects. You can learn what makes one bridge photo feel stronger than another.
Use the time to test:
- different focal lengths (if your DSLR setup allows it)
- foreground water vs bridge detail emphasis
- whether symmetry works for you in this angle
This is also a good place to apply whatever you just learned at Leidsegracht. Bridges become a repeatable exercise, which helps learning stick.
Nieuwmarkt (free admission)
Nieuwmarkt gives you a change of mood: more open space and the chance to work on street scene balance. It’s helpful for learning how to include people or street elements without losing your main subject.
If you’re practicing composition, you can focus on:
- keeping visual clutter out of your frame
- choosing a subject and letting the background support it
- working with edges and corners to make the photo feel planned
It’s also a good breather stop. After several architecture-and-canal targets, this helps you refresh your eye.
Huis Bartolotti (Museumhuis Bartolotti) (free admission)
This is a refined architectural stop, and it’s great for learning how to shoot historic buildings with patience. The subject rewards careful framing.
Here you can practice:
- cropping to highlight details
- checking how your exposure handles darker stone
- trying a tighter shot that feels intentional rather than random
If you want portraits of buildings, this kind of stop is where you learn to slow down.
What the pro photographer actually helps you with
A “photography lesson” can mean anything. Here, the emphasis is on learning camera fundamentals in real conditions—on real streets—with real light.
Based on the way instructors are described (including Renzo’s night focus and William’s extensive guidance), the teaching style seems to work like this:
- you shoot while the lesson is happening
- you get specific pointers tied to the scene in front of you
- you try again quickly so changes show up right away
That approach beats reading theory alone. You learn because you see the cause-and-effect in your own images.
It also helps you build confidence. One theme from the feedback is that people came in thinking they didn’t know their camera well, then left with clear, usable directions—especially for night shooting.
Price and value: how $204.24 stacks up
At $204.24 per person for about 3 hours, you’re paying for two things: time with a professional photographer and a route that’s built around major photo targets.
Is it “cheap”? No. But it’s also not just buying access to landmarks. You’re buying guidance that can save you days of trial and error later. A private lesson can turn your vacation camera from random shots into a coherent set you actually like.
Value gets even better with the small group size (max 4). If you split with a friend or two, you’re effectively paying for more feedback per person than you would in a bigger group setting.
Also, the stops listed are marked as free admission for the locations in the route. That’s one less cost you’d otherwise have on top of the lesson.
Gear checklist: DSLR needed, tripod by request
This experience asks you to bring your own DSLR camera. A camera isn’t provided, so you’ll want to show up ready to shoot right away.
Other helpful notes from the info you get:
- Tripod is available upon request (so if you use one, ask ahead rather than hoping)
- you can participate in all weather conditions, so you’ll want to dress for rain and wind
If you’re planning to shoot at night, bring whatever you use for low-light work. Even with guidance, your results depend on having the right gear and being ready to adjust settings.
If you don’t have a tripod, don’t panic—but expect the instructor to guide you on how to handle steadiness and exposure without it.
Getting the most out of the short shooting windows
With 20 minutes per stop, you’ll want to travel light mentally. Don’t overthink lens changes. Pick one approach per stop and try to complete the “test and adjust” cycle.
A simple way to use the lesson time:
- shoot a quick wide frame
- shoot a tighter composition
- adjust one setting (not five)
- take a final shot that looks like what you want your photo to become
That’s how you get learning without running out of time.
Also, be ready to stand and walk. Canal and bridge photography often rewards moving a few steps to find the cleanest framing.
Weather and comfort: Amsterdam can change fast
The masterclass runs in all weather conditions, so you’re not being canceled at the first hint of clouds. That’s good for consistency, but it means you should pack for the reality of Dutch weather: wind can be as important as rain.
Dress appropriately. If you’re cold, you’ll move less and shoot less. If you’re uncomfortable, you’ll stop experimenting. Bring a layer you can move in, and plan for hands that can still operate your camera smoothly.
Who this masterclass is best for
This works well if:
- you want to learn camera settings in real situations, not just on a tutorial page
- you like structured practice and clear instructions
- you’re visiting Amsterdam with limited time and want a route that hits major photo-worthy spots
- you’re traveling with a small group and want private coaching
It’s also a great fit if you’re aiming for night photography. The focus on evening shooting is supported by instruction highlights that emphasize practical night results.
If you’re a complete beginner, you’ll likely get the most value. If you already know the basics, ask for targeted help so you don’t waste your time repeating fundamentals.
Should you book this Amsterdam masterclass?
If you want your photos to improve fast, this is a strong booking choice. The route is thoughtfully timed, the group is small, and you get direct coaching from a pro photographer in English.
I’d skip it only if you already have a solid workflow and you mainly want general sightseeing at a relaxed pace. This experience is for people who want to shoot with purpose, learn why shots work, and come away with a clearer handle on settings—especially when light gets tricky.
FAQ
How long is the Amsterdam Photography Masterclass?
It’s about 3 hours.
Is this a private tour?
Yes. It’s private, and the booking allows a maximum of 4 people per group.
What language is the tour offered in?
The experience is offered in English.
Do I need to bring my own camera?
Yes. You should bring your own DSLR camera.
Is a tripod included?
No. A tripod is available upon request, but it is not included by default.
Is the tour held in bad weather?
It operates in all weather conditions, so dress appropriately.
Where does the tour start and end?
It starts at Leidsekade 97, 1017 PN Amsterdam, Netherlands, and ends back at the meeting point.
Are there admission fees for the listed stops?
The stops listed in the itinerary show free admission tickets for each location.
If you want, tell me your camera model (and whether you’re doing daytime or evening), and I’ll suggest a simple pre-trip checklist so you’re ready to get results on the first stop.